Milford Sound Lodge
To repair a leaking roof, the Coloursteel was removed, flashings reinstalled, holes repaired then 1.0mm grey Seamless Membrane applied to the canopy.
See below project photos – before, during and after.
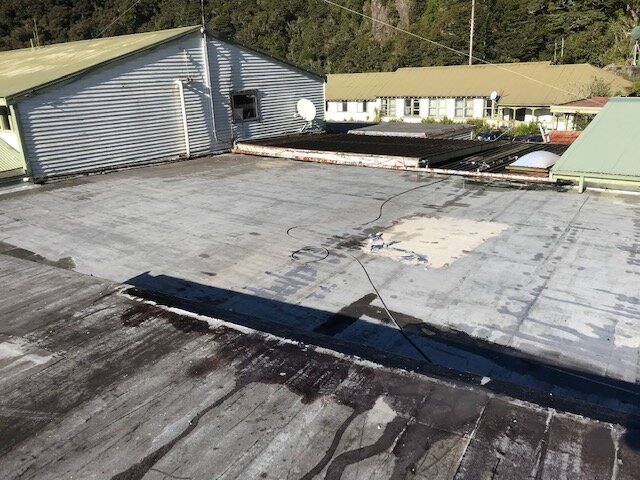
Before
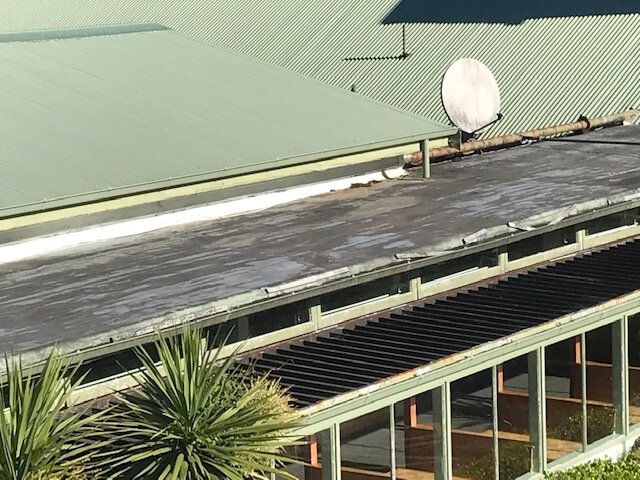
Before
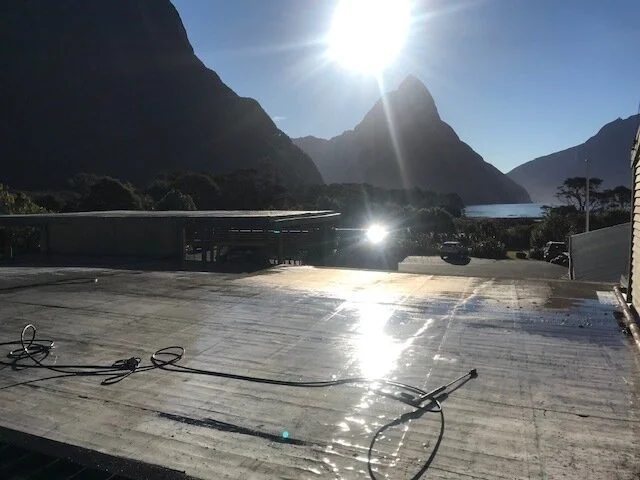
During

During

During

Before
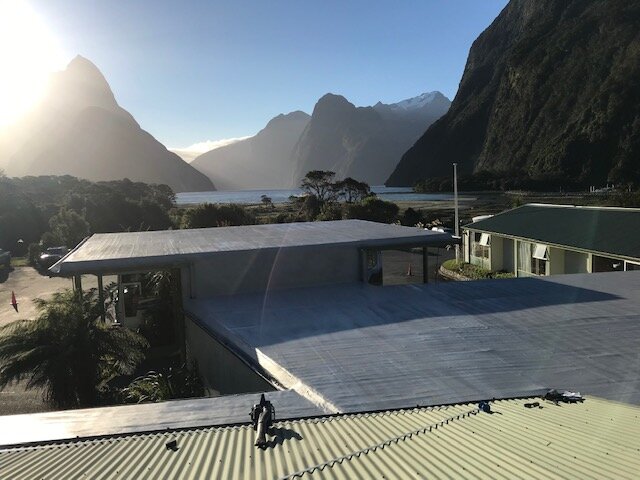
After

After
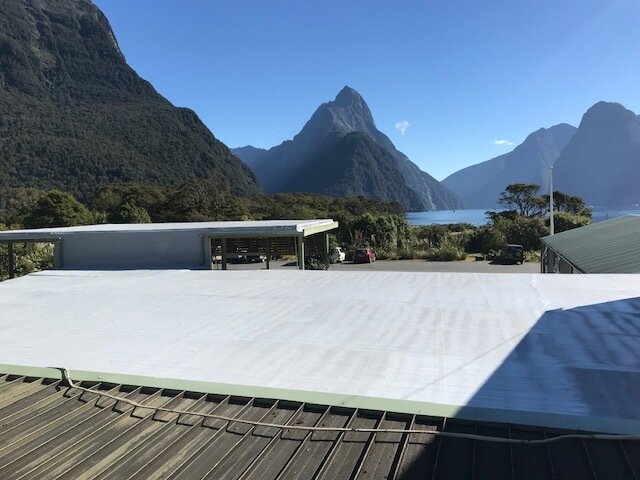
After